When hardware on Linux systems behaves strangely, the fastest answers are often already available from the terminal. One of the most useful tools for this is lspci, a small command that reports which devices are connected to the PCI bus and how the kernel sees them.
LSPCI It’s not flashy, but it’s reliable. It works on servers, laptops, desktops, and recovery environments, and it does not depend on an available desktop session. These are the methods that are most useful in day-to-day troubleshooting.
1. Get a Quick List of Internal Hardware
Running lspci without any flags gives a brief list of PCI devices recognized by the system:
lspci
It shows the graphics adapter, network controller, storage controller, and chipset components. Each entry includes a slot address, vendor name, and device description. If a GPU, network card, or controller doesn’t appear here, Linux isn’t seeing it at all.
This step is often enough to confirm whether a hardware issue is physical or software-related.
2. Limit output to a specific device
On systems with lots of devices, the output can be overwhelming. Putting the results into grep makes it easy to focus on one component:
lspci | grep USB
This works well for USB controllers, graphics devices or network hardware. Searching by vendor name is often more reliable than generic terms like “GPU” or “graphics”, which may not appear in device labels.
3. View detailed information for troubleshooting
Verbose mode adds useful context when the basic output isn’t enough:
lspci -v
This includes IRQ assignments, memory ranges, and other technical details that help diagnose driver or resource conflicts. Some fields require elevated privileges, so running it with sudo may reveal more data.
Higher verbosity levels exist, but they are usually unnecessary unless debugging kernel or driver-level problems.
4. Understand how devices are connected
The PCI tree view shows how devices relate to each other:
lspci -tv
This is especially useful on laptops and servers, where multiple devices share a bridge or controller. This can explain why disabling or removing one device affects another device, and it helps diagnose bandwidth or bus contention problems.
5. Check which driver the device is using
Knowing that the correct kernel driver is loaded can save time. Once you know the slot address of the device, you can check its driver as follows:
lspci -ks 00:02.0
This shows the kernel modules currently in use and which modules are available. For graphics cards and network adapters, this step immediately shows that the system is not using open-source drivers, fallback modules, or anything else.
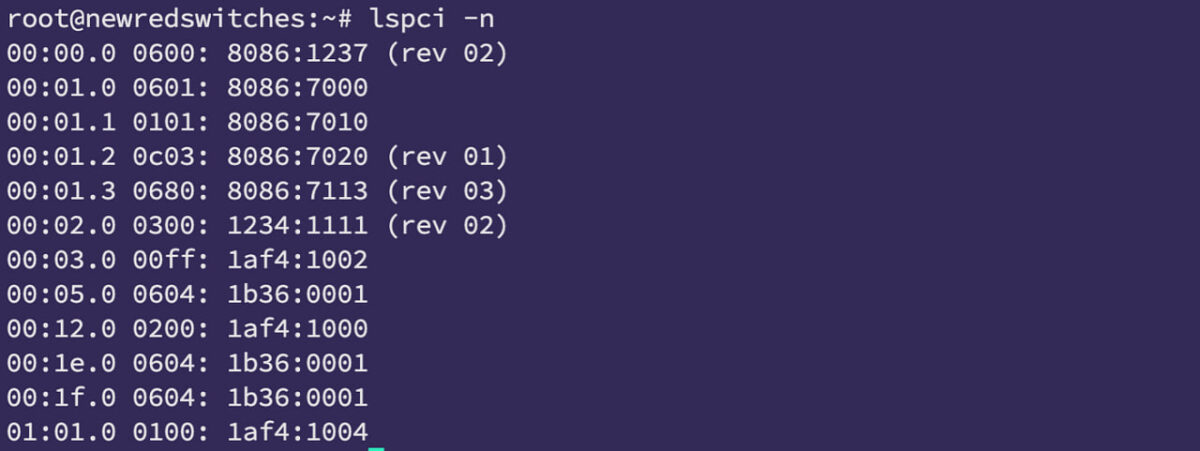
6. Get vendor and device IDs for deeper research
Sometimes device names are not enough. LSPCI can display numeric vendor and device IDs that uniquely identify hardware:
lspci -nn
To focus on a single device:
lspci -nns 00:02.0
These IDs are invaluable when searching documentation, reporting bugs, or checking compatibility lists. They also help confirm the exact hardware version when multiple revisions are present.
When lspci is the right tool
LSPCI shows only PCI devices. It does not list USB peripherals, storage partitions, or removable drives. For them, tools like lsusb and lsblk are more suitable.
Still, for diagnosing GPUs, Wi-Fi cards, Ethernet controllers, NVMe interfaces, and chipset components, LSPCI is one of the fastest ways to see what Linux actually recognizes.
Having it in your troubleshooting toolkit makes it easier to identify hardware problems before they turn into guesswork.
resources:
https://www.howtogeek.com/practical-uses-for-the-linux-lspci-command/